Friday, October 17, 2014

Get Yo' Fritter On: A Veggie Burger Alternative

Fritters are a really fun word to say; let's face it that's likely why I chose to make them! But really, I have 4 cobs of corn and was trying to figure out what to do with them! Corn chowder was out, given this crazy, heat wave we've been having in San Francisco. There's also a time and place for soups and stews...this just wasn't that time.


I love me a good sando, so of course I thought, I've got to incorporate this into a some sort of delicious patty. I've made plenty variations of veggie burgers...some with lentils, mushrooms, quinoa and other texturizing ingredients, but I wanted to make a dish that didn't hide the shapes and texture of these really crunchy, sweet and beautiful cobs of corn! I'm probably the only person in the world who thinks kernels of corn as beautiful, but hey...just let those pictures speak for itself! Am I right?!?


This fritter was ridiculously easy to make! The sad news is that I had a hard time keeping the fritter "patties" together. Adding a bit more flour and perhaps beating the egg instead of incorporating may have helped. But let's face it 4 cobs of corn is A LOT, maybe for for 2-3...just to be sure you get that awesome, fresh, crunchy flavor, but have better shape to your fritters!

I added a little kick of jalapeño, feel free to add another source of heat...like chili powder or serrano chilies. I also added 2 types of cheese, since I had sharp cheddar and extra sharp white cheddar on hand...but again any cheese you have to grate will be a great binding agent and make it creamy!


I piled these fritters high on a bed of salad and then, later for dinner, in a soft roll, with smash avocado, salad and feta. Pair the fritters by themselves with a dipping sauce or aioli..inspiration for my next post!

Jalapeño, Cheddar and Corn Fritters
Kneading Sass original

Ingredients:
  • 4 ears of corn, cut from cob
  • 1/2 red bell pepper, diced
  • 1 medium zucchini 
  • 1 bunch cilantro, chopped
  • 3 green onions, sliced
  • 1/3 cups cheddar, grated
  • 1/2 cup all-purpose flour
  • 1 egg, beaten
  • 1 tsp cumin 
  • 1 tsp paprika
  • Salt and pepper to taste
  • Olive oil
Directions:
1.  Remove corn kernels but cutting from cob. Cut kernels over a bowl to make it easier on yourself in catching all of the kernels! (Clearly, I did not do that!) Place in a bowl.


2. Add red bell pepper, zucchini, cilantro, green onion, jalapeño to bowl of corn. Note: I chopped my jalapeño on a separate cutting board (plastic) to avoid getting my super, nice, wooden one all peppery from the juices!


3. Add in beaten egg, flour and spices. Mix well. Fold in cheese.


4. Make sure batter is cool. Making "patties" at room temp will make it more likely to fall apart when cooking. Pop batter into the fridge for an hour or  a few minutes the freezer if you're in a hurry. Making this batter the night before is advised! (Super great for meals later in the the week or next day!)


5. Heat oil in skillet on medium heat. Once pan it warm, use a tablespoon scoop and place 3-4 "patties" in skillet. Make sure not to overcrowd them. Note: Too high of heat and you'll: burn the bottoms and/or kernels will begin popping away like popcorn!


6. Cook each side, 2-4 minutes, or until brown and crispy. It helps to flatten tops of these patties with back of your spoon. 

7. Once cooked through, carefully use spatula to spoon fritter onto a plate to cool. Once fritters are cooled, it is much easier to handle them and they are less fragile!
8. Top it on a salad, serve it with a dipping sauce/aioli or make into a meal!


This recipe makes 14-16 corn fritters!

Monday, September 22, 2014

Planning Ahead: Overnight Kale Salad Inspired by Seasonal Flavors

I was recently in the South, Atlanta to be exact and I was determined to sample at least one kale salad. I know the South has it's rep for deep fried everything, but I know Atlanta is home to refined chefs with some diverse palates. Although, I'm pretty sure kale is an import to Atlanta, it was pretty easy to find! Inspired by a late lunch I had at rustic, cute, Asian Fusion BBQ joint (again, only in the South!); a refreshing kale salad on a hoTlanta day was exactly what I was craving. Also, an excellent choice given the massive portions and battered this and that.

I was wary of ordering a salad anywhere in Atlanta, since its speciality is southern comfort. But I read some rave reviews on Eater Atlanta. The salad was HUGE, more than enough for two to share as an appetizer and plenty for one as a meal! The farro (a low gluten grain) in the salad added a lot of extra substance and heavier texture than quinoa.


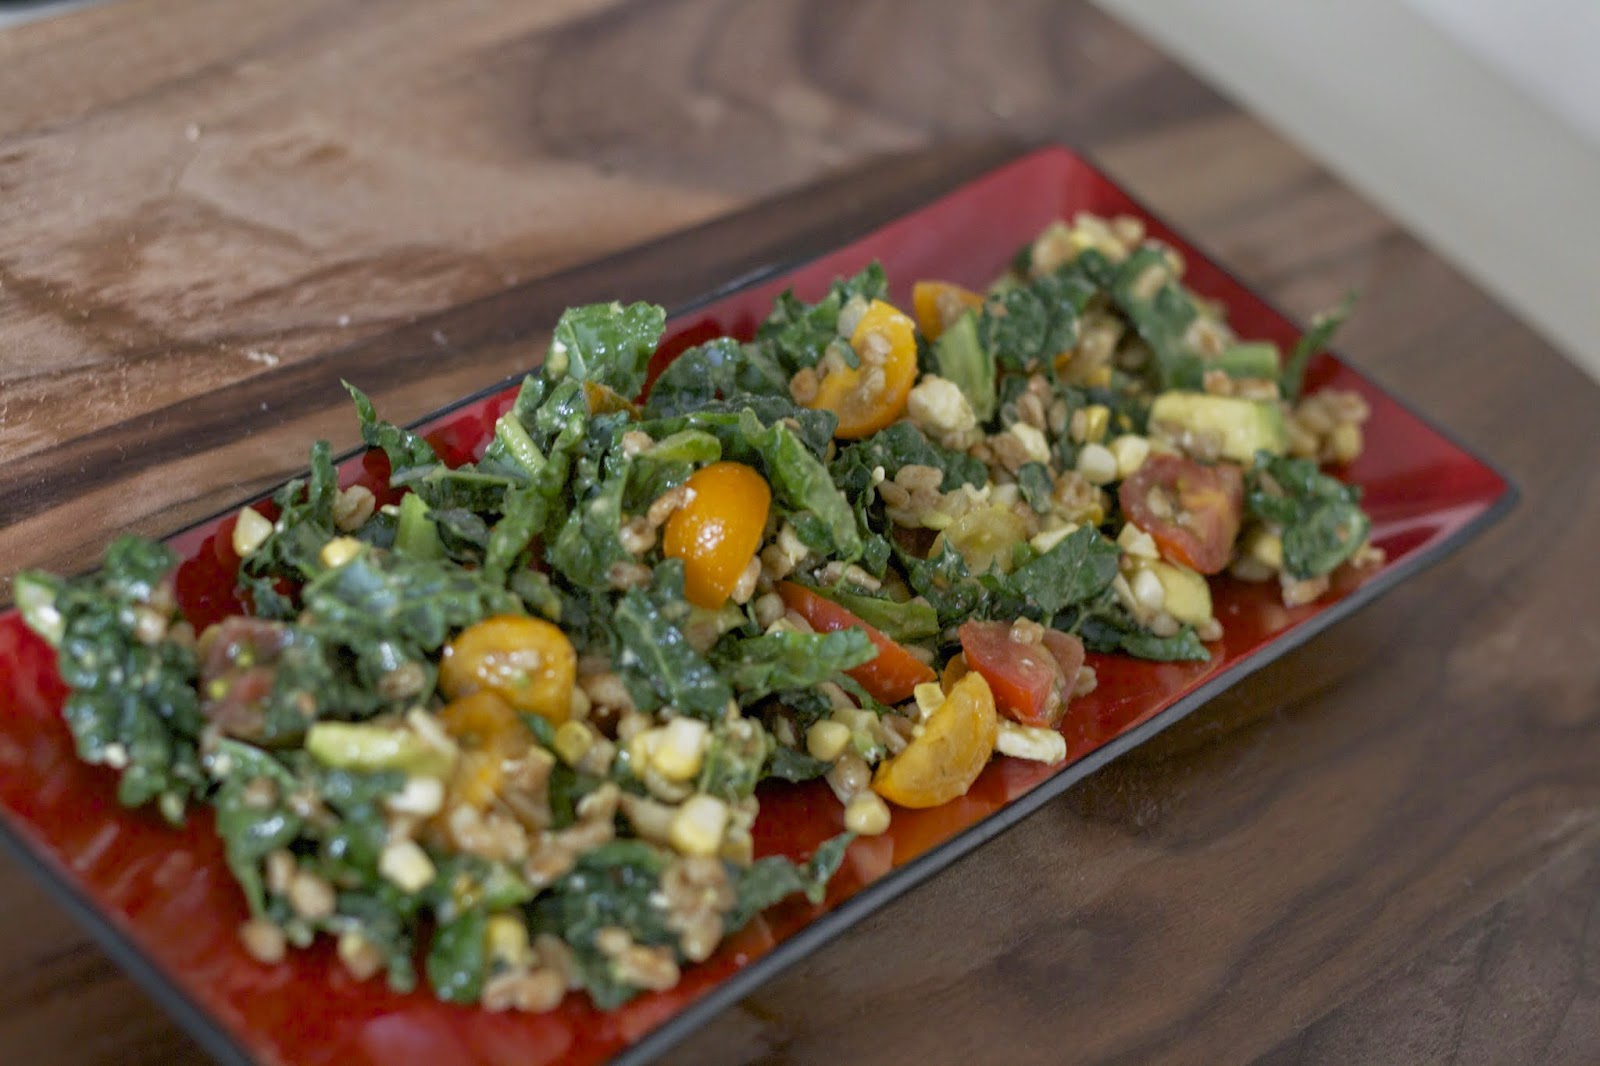
As soon as I got back I was inspired to make this salad at home! The ingredients were simple, the pairings of the soy, ginger, kale, feta and heirloom tomatoes were awesome! I'm usually adverse to fusion foods, but this was truly unique and celebrated some seasonality with those tomatoes!


Of course, I had to add my own touch when I got home...I skipped the fennel in the original salad and opted for some fresh, sweet, corn and almond slices for added crunch. And because I have WAY TOO MANY mason jars of sauces and dressings hanging out in my dinky fridge, I went to good ol' TJ's for store bough sesame ginger dressing...although you can find an easy and simple recipe for similar, homemade version here.


I had this salad for lunch and then stole a small bite or a two a few hours later...and my, OH MY, was it so much more flavorful just a few hours after the first taste! I definitely recommend making this a night before. Take it it for lunch the next day or have it for dinner with some grilled protein. A great salad with lots of vibrant colors, seasonal veggies and perfect for a potluck or to share in mass!

Tricolor Kale and Farro Salad wit Soy Ginger Sesame Dressing
     Kneading Sass Original 

Ingredients:
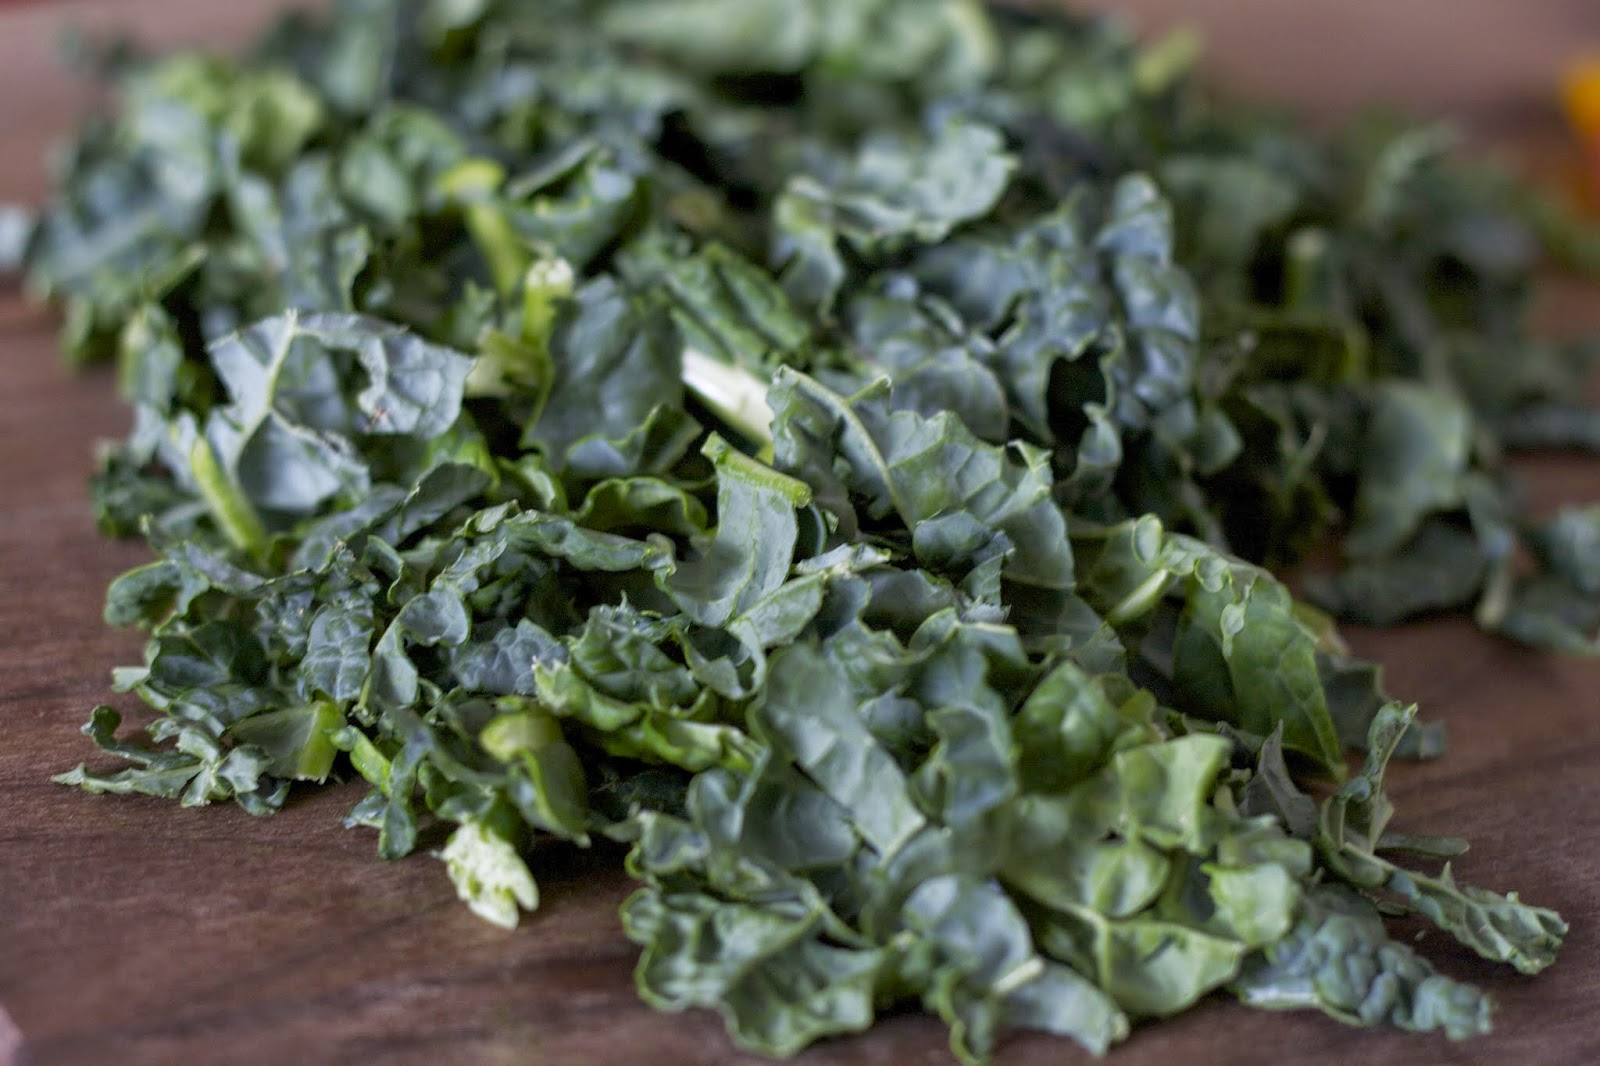
  • 1 bunch dino kale, cut into strips
  • 1/2 cup farro, cooked to packaged directions
  • 1 shallot, minced (added to cooking farro)
  • 1/2 cup heirloom tomatoes, quartered
  • 1 cob, sweet corn, kernels removed
  • 1/2 avocado, diced
  • 1/4 cup feta, crumbled
  • small handful sliced almonds
  • 1/4 cup soy ginger sesame dressing (you really want to coat those leaves!)
  • Pepper to taste
Directions:
1. Start by cooking your 1/2 cup of farro to package instructions. I used 1 cup or water for 1/2 cup of uncooked farro. I brought this to a boil and added my minced shallots, hoping to infuse them with a mild, onion-y flavor.

2. Bring farro to simmer for 10 minutes. Once farro is cooked, set a side and let cool.


3. Cut dino kale into thin strips. Removed middle stems if using din kale leaves.


4. Quarter heirloom tomatoes and dice the half avocado.


5. Cut the corn kernels right off the cob, no need to cook them as they are super sweet and crunchy raw!

6. Add dino kale, corn, tomatoes and avocado to a large bowl. Top with crumbled feta and almond slices.

7. Gently stir in cooked and slightly cooled farro. Add a dash of pepper and toss in your dressing.


8. Mix well and serve cold, preferably in a few hours or the next day.


This salad serves 4-6 hungry kale lovin' mouths!

Monday, August 4, 2014

Easy Jammin': Homemade Fig Preserves for Everyday Eating

Every time I walk into a speciality foods store I am inundated with adorable jars of jams, preserves and spreads. But sometimes the flavor just isn't there! Too sweet, the consistency isn't right, I am all about taking short cuts when cooking, but making your preserve is so easy and quick, you'll think I'm kidding! Except that I'm not...

I had some figs in my fridge getting a little too soft to serve in salad or along side some meats and cheese, so cooking them down was my only option rather than tossing them in the trash. Now figs are pretty seasonal, so making a jam or preserve is an awesome way to keep those fruits you love and crave, in your cupboard, all-year round.


I'd NEVER made my own preserve...can you believe it?! Such a simple condiment with potential to get jazzed up or stay true to it's fruit, it's a shame it took me this long to venture it my own jamming. It's, by far, one of the easiest things I've made in under 30 minutes. The results were pretty delicious.


The shelf life of this jam is like any other natural preserve or jam you might buy, just note that once you open that bad boy up, you'll need to store it in the fridge. Otherwise, it could literally last months, well that is if you don't gobble it all up! It's honestly a great gift idea...  if you are going to someone's home and want to bring something with a homemade touch, or something to give away for the holidays, jams and preserves are excellent gift given it's longevity on the shelf. 

So I had mine the next day for breakfast on some toast with a bit of goat cheese! I couldn't resist! Make it savory, or keep things sweet, this jam isn't overpowering in sweetness but the flavor is BIG, so a little can go a long way.

Balsamic and Cardamom Fig Preserves

Ingredients:
  • 16 oz. of figs, washed and quartered
  • 1 Tbl. honey
  • 1 Tbl. balsamic vinegar
  • Lemon zest to taste
  • 1/4 tsp. ground cardamom
  • Canning jar (cleaned!) - think small mason jar with a lid
Directions: 

1. Preheat oven to 400 degrees. Wash and trim the ends of your figs. Cut them into quarters and place them in a baking dish.


2. Add honey, lemon zest, balsamic vinegar and cardamom to figs. Toss the figs in your dish to evenly coat.

3. Let the fruits cook and soften in the oven for 15-20 minutes until the natural liquids of the fruit and other ingredients surrounds your baking dish.


4. Let figs cool for about 3-5 minutes before blending in a food processor.

5. In a food processor, or blender (I used my ninja!), mix your figs for about 1-2 straight. You'll see the seeds still intact, but for a smooth and less chunky preserve, blend on high speed for at least 1 1/2 minutes in your processor or blender.


6. Using a spatula, spoon your fig preserves into a clean jar. NOTE: Place a mason jar and lid in your dishwasher to sanitize it; it should be dry with no water in it to prevent any molding. 

7. Fill your jar up to the top and wait for jam to cool at room temp before putting a lid on it.


8. Once you break open your preserves, be sure you place it in the fridge after use and avoid getting any water or using a dirty knife with other foods on it to keep your preserves lasting longer and staying fresh! This recipe makes one 6 oz. jar of preserves.

Wednesday, July 9, 2014

Casseroles are Delicious Again: A New Kind of Eggplant Parm

Feeding a group of people, or just two (or even one!) can feel like a lot of work. Making something in mass, like a casserole or a bake, is not only economical, but worth all the prep time and effort of making something from scratch! It's easier to buy a bag of onions or chop a lot of garlic for something, rather than one pod, one stalk of this or that...am I right? Plus eating and making meals should be social! If you are cooking for one or two... know that I love cooking meals in bulk and ahead of time, so I am not famished after work or working out (or after an evening of happy hour!)


But making something like casserole seems very 1950's and a little to retro, maybe....NOT! Take something like eggplant parmesan...a fairly hearty dish, easy to make for many, or save all for yourself to devour over a few different meals. It can be labor intensive what with breading the eggplant, then baking it, then layering ingredients and then baking again. Take the shortcuts where you need them! The end result will be delicious no matter what
Add whatever extra veggies or ground meat you might have in your fridge, literally the kitchen sink if you want!

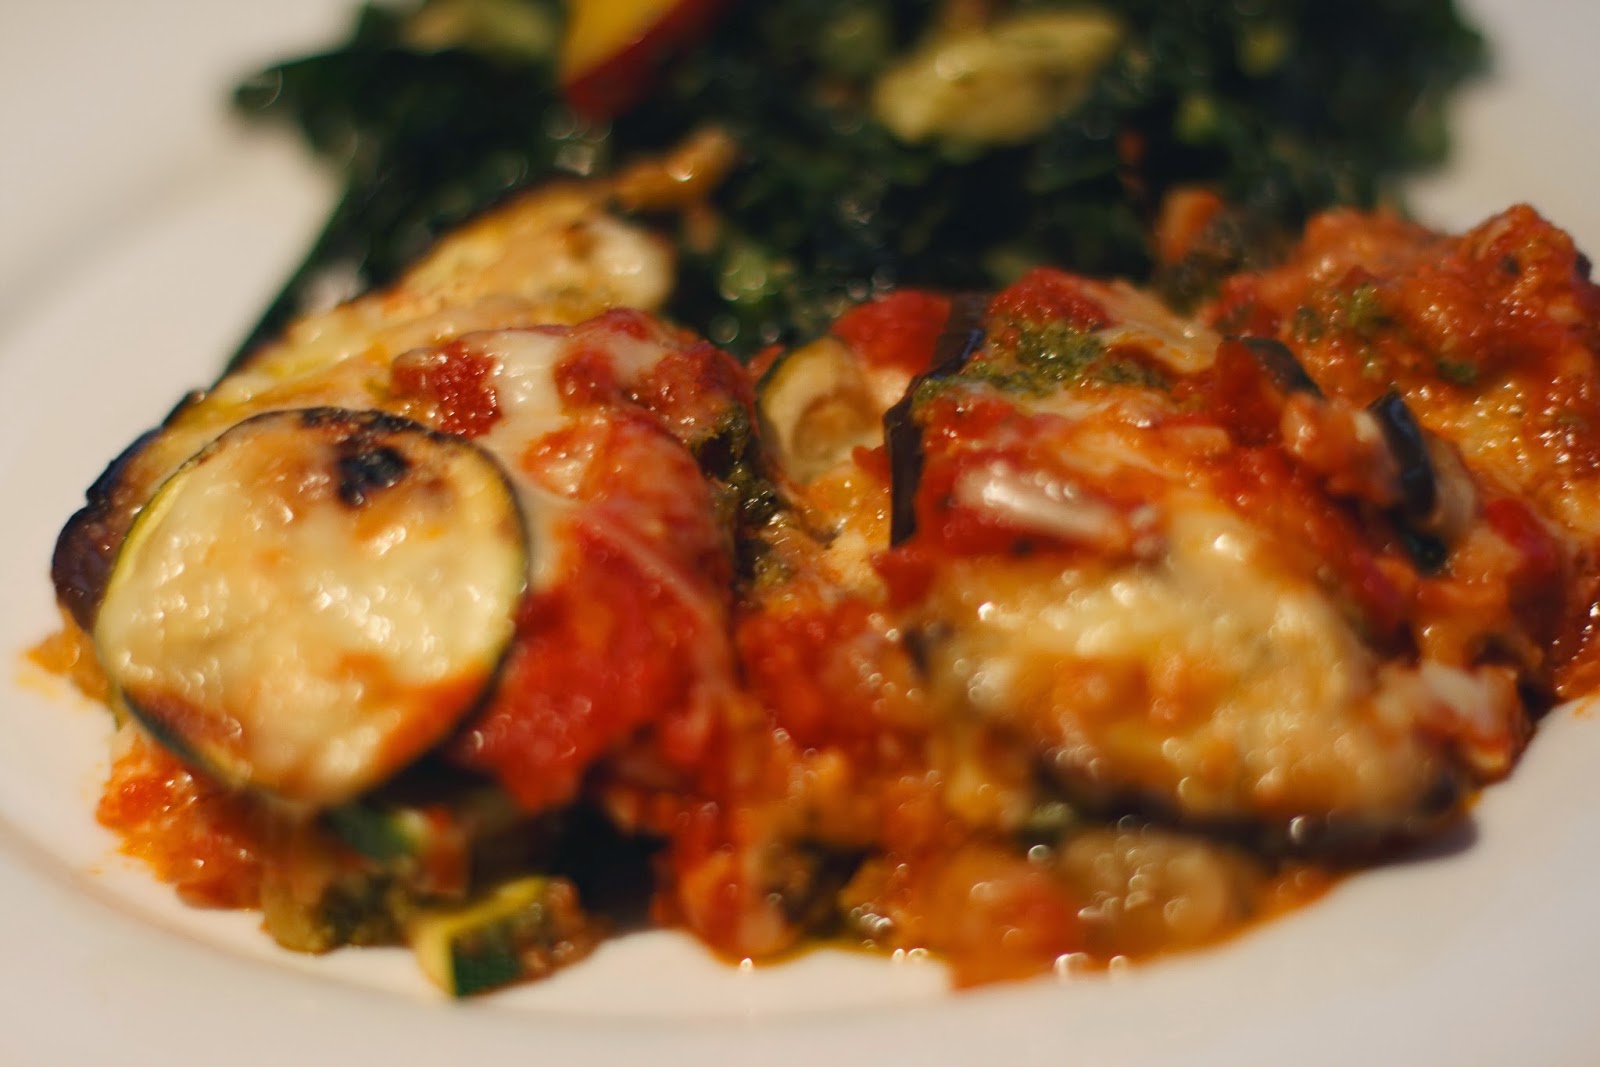
But really this baked eggplant and zucchini casserole is a no fuss meal. Make it the night before and then pop it in the oven or serve it to gaggle of pals, I've modified this otherwise very cheesy and rich dish to use minimal amounts of dairy and carbs, replacing these vices with loads of veggies.

I used my homemade, VEGAN pesto recipe (seriously, it's the BEST), but you can always use something store bought instead. Making pesto is somewhat of a bi-weekly ritual I have, but that's just me!

This meal was lovely with a crisp white wine. Enjoy!


Eggplant and Zucchini Pesto Casserole 


Ingredients: 

  • 1 large eggplant, sliced into 1/4-inch rounds
  • 2 zucchinis, cut into rounds
  • Your favorite tomato sauce, I love Arribiata because it's spicy!
  • 2 cloves garlic, minced
  • 1 cup low fat mozzarella, shredded 
  • 1/2 cup parmesan cheese, shredded
  • Homemade pesto (or store bought!)
  • 1 cup Panko bread crumbs
  • 1 Tbl. live oil
  • Cooking spray
  • Salt and pepper to taste
Directions:

1. Preheat your oven to 425. Cut your eggplant in rounds and zucchinis. 


2. Using a grill pan, George Foreman, or panini press (that's what I used!), spray your hot surface with cooking oil. Place your veggies on the hot surface and let them get a little brown and cooked. They do not need to be cooked all the way, as they will continue to soften in the oven later. Using a grill or press is INCREDIBLY FAST. Like 5 minutes fast. 


3. Set aside your grilled veggies on a plate to layer later.


4. In a saucepan, add olive oil on medium heat; add garlic once pan is hot. Cook for 30 seconds until fragrant. Add your favorite sauce.

5. Let your sauce reduce to simmer. 

6. Begin layering your dish! Start with a thin layer of sauce, add eggplant slices, cheeses, a handful of breadcrumbs and a few spoons of pesto. Do another layer of this but with zucchini, then alternate. I had about 2 layers of eggplant and zucchini, for a total of 4 layers. 


7. Bake, uncovered, for about 15 minutes or until cheese is melted. 


8. Cool for about 5 minutes before cutting into square slices. Served this dish with a kale, pesto peach salad (recipe to follow!) and some vino. Serves about 5 hungry people.