Showing posts with label farro. Show all posts

Monday, September 22, 2014

Planning Ahead: Overnight Kale Salad Inspired by Seasonal Flavors

I was recently in the South, Atlanta to be exact and I was determined to sample at least one kale salad. I know the South has it's rep for deep fried everything, but I know Atlanta is home to refined chefs with some diverse palates. Although, I'm pretty sure kale is an import to Atlanta, it was pretty easy to find! Inspired by a late lunch I had at rustic, cute, Asian Fusion BBQ joint (again, only in the South!); a refreshing kale salad on a hoTlanta day was exactly what I was craving. Also, an excellent choice given the massive portions and battered this and that.

I was wary of ordering a salad anywhere in Atlanta, since its speciality is southern comfort. But I read some rave reviews on Eater Atlanta. The salad was HUGE, more than enough for two to share as an appetizer and plenty for one as a meal! The farro (a low gluten grain) in the salad added a lot of extra substance and heavier texture than quinoa.


As soon as I got back I was inspired to make this salad at home! The ingredients were simple, the pairings of the soy, ginger, kale, feta and heirloom tomatoes were awesome! I'm usually adverse to fusion foods, but this was truly unique and celebrated some seasonality with those tomatoes!


Of course, I had to add my own touch when I got home...I skipped the fennel in the original salad and opted for some fresh, sweet, corn and almond slices for added crunch. And because I have WAY TOO MANY mason jars of sauces and dressings hanging out in my dinky fridge, I went to good ol' TJ's for store bough sesame ginger dressing...although you can find an easy and simple recipe for similar, homemade version here.


I had this salad for lunch and then stole a small bite or a two a few hours later...and my, OH MY, was it so much more flavorful just a few hours after the first taste! I definitely recommend making this a night before. Take it it for lunch the next day or have it for dinner with some grilled protein. A great salad with lots of vibrant colors, seasonal veggies and perfect for a potluck or to share in mass!

Tricolor Kale and Farro Salad wit Soy Ginger Sesame Dressing
     Kneading Sass Original 

Ingredients:
  • 1 bunch dino kale, cut into strips
  • 1/2 cup farro, cooked to packaged directions
  • 1 shallot, minced (added to cooking farro)
  • 1/2 cup heirloom tomatoes, quartered
  • 1 cob, sweet corn, kernels removed
  • 1/2 avocado, diced
  • 1/4 cup feta, crumbled
  • small handful sliced almonds
  • 1/4 cup soy ginger sesame dressing (you really want to coat those leaves!)
  • Pepper to taste
Directions:
1. Start by cooking your 1/2 cup of farro to package instructions. I used 1 cup or water for 1/2 cup of uncooked farro. I brought this to a boil and added my minced shallots, hoping to infuse them with a mild, onion-y flavor.

2. Bring farro to simmer for 10 minutes. Once farro is cooked, set a side and let cool.


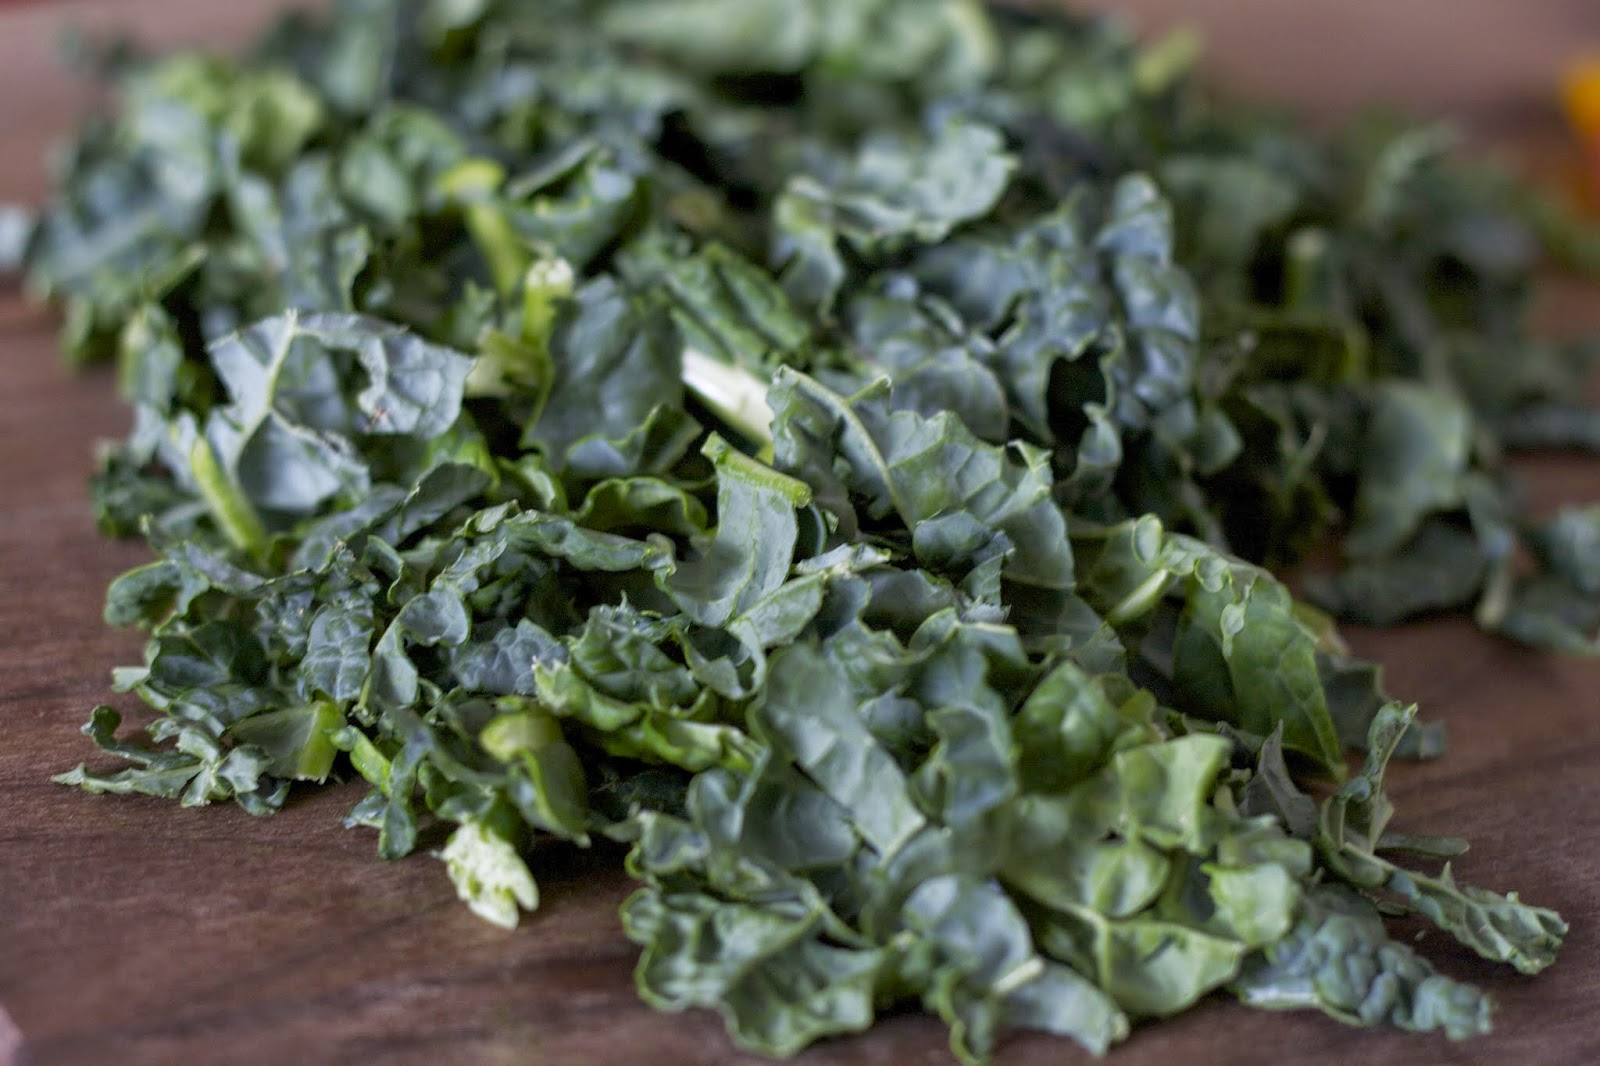
3. Cut dino kale into thin strips. Removed middle stems if using din kale leaves.

4. Quarter heirloom tomatoes and dice the half avocado.


5. Cut the corn kernels right off the cob, no need to cook them as they are super sweet and crunchy raw!

6. Add dino kale, corn, tomatoes and avocado to a large bowl. Top with crumbled feta and almond slices.

7. Gently stir in cooked and slightly cooled farro. Add a dash of pepper and toss in your dressing.


8. Mix well and serve cold, preferably in a few hours or the next day.
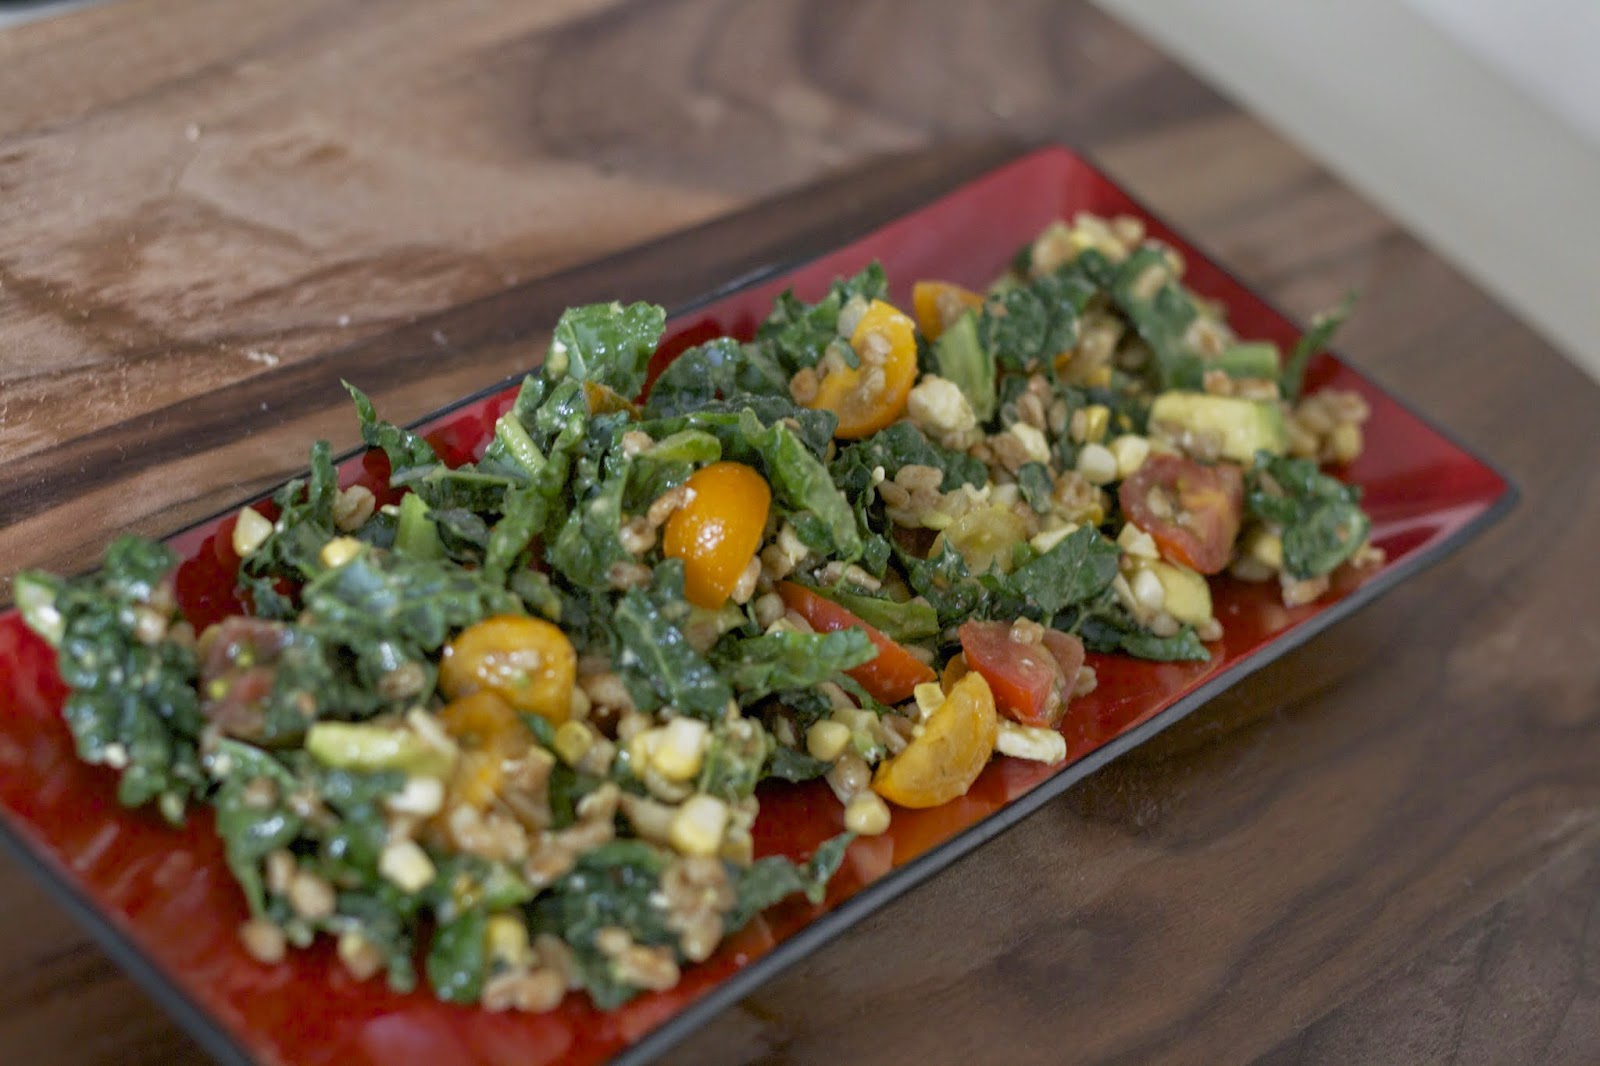

This salad serves 4-6 hungry kale lovin' mouths!

Thursday, January 17, 2013

Repurposing Food: Turning a Side Dish Into a Chic Appetizer -- "Faux"-sotto Balls

Everyone raves about risotto balls, also known as arancini, as seriously one of the best appetizers they've consumed....I'll take them up on that challenge! And while we all know that I am not the biggest fan of fincky risotto, I am obsessed with it's faux counterpart, farro. I recently featured two farro dishes last time:

  • Paella (with the recipe included) 
  • Mushroom faux-sotto (where I just listed out the ingredients)
But then I had a stroke of genius (before my morning coffee too!) By using leftover mushroom farro risotto, some breadcrumbs and goat cheese, I'll be turning this three-day old side dish, into an impressively, delicate and delectable appetizer! Great for a spontaneous dinner party or guests that spring up at your home without a moments notice. Go ahead, blow their freakin' socks/tights/leggings/keds off with this one!

Ready for some serious magic?! Yeah that's right Harry Potter, step aside, being resourceful here! (Bet you cant even make faux-sotto balls!)

Okay, so here's how the recipe goes...this is going to be pretty informal (not as detailed as my other posts), but certainly thorough. Serve this as an appetizer with a marinara dipping sauce or pesto sauce. Also, it serves well on its own with a side salad, as I've prepared below!

Leftover Mushroom Farro Risotto Balls


Kneading Sass original

Ingredients:
  • 1 cup leftover farro risotto 
  • 3/4 cup Panko breadcrumbs (half used in risotto, the other for breading)
  • 1 Tbl soft goat cheese or mozzarella cheese (cubed) 
  • Italian seasoning to taste
  • Vegetable oil
Directions: 

Going with step-by-step photos here!


Farro risotto ball assembly line. In no particular order. Added Italian seasoning to my plain Panko breadcrumbs here. 


Get your hands dirty! Mixing it all together in one tupperware makes this easy and efficent. Remember use only half of the Panko breadcrumbs here, the other half will be saved for the outer breading!


Just in case you were wondering...this is my favorite goat cheese! Using cheese instead of eggs as a binding agent allows the farro to sick together when frying. 


I used a teaspoon to help me form these balls into the right size. Don't be afraid to mold these in your hands into a tight ball...the tighter the more it will stay together when cooking!


Using the reserved Panko breadcrumbs, liberally bread these bad boys!


Over medium heat, add about 1 1/2 inches of vegetable or safflower oil. Once oil is hot, gently place farro balls into hot oil. Turn after 2 minutes to get these nice and crispy. 


The final product: Almost perfectly round? Remember farro is significantly less starchy, and thus less robust, than rice. The chances of these breaking apart in the hot oil are higher than usual, so be gentle with these. 


Changing the name of these from faux-sotto balls to AMAZEballs! Made this into a meal with a heaping side of salad :)

Wednesday, January 16, 2013

Farro or Pharaoh? Rice or Pasta? Even Wikipedia Doesn't Know!

I can't tell which category farro falls under, but what I can tell you is that it's a fabulous and flavor-lovin' alternative to a starchy rice, like arborio rice, which you often find in risotto. A hearty grain that's low gluten, farro is amazing replacement to any side or main dish starch in your diet and WAY easy to prepare.

Getting back to risotto... I have to admit, I've never actually made risotto! But what I do know is that even the most talented chefs find it temperamental and annoying because it's a grain you can't just boil and walk away from. You have to watch and stir...and watch and stir some more (like 45 minutes more! Yikes!). Thus, farro is the alternative or "faux" risotto. 

Faux-sotto? Sounds fancy and complicated...trust me though, it's far from it!

I made farro over the last few evenings, once as a side dish, the other as a main dish, paella to be exact!


Sauteed the side dish above with mushrooms with onion, garlic, farro, and topped with some fresh Parmeasan and chopped walnuts. An excellent faux-sotto side.

Farro is great because it doesn't dry out like rice or get mushy when saturated with too much liquid, like a pasta would. It's tender and holds flavor really well, unlike qunioa (I swear I'm not a  hater but a waivering believer still!), which should be overseasoned more often than not. 

You see I have this thing for over cooking...I sometimes doubt myself and then I end up with burnt paella! So after my embarassing paella kerfuffle a few weekends ago, I decided arborio rice was the devil of starches and I found that the savior was farro, which made for an even tastier, replacement.

I mean seriously, paella is literally throwing a bunch of different ingredients into one pot and simmering it. Despite messing it up the first time, second time was a charm!
FYI...before this paella, I had NEVER cooked with mussels before. Needless to say, all of them opened, cooked to tender perfection and weren't chewy at all (unlike clams when they are overcooked). Mussels are also pretty inexpensive and damn impressive! For less than $2.50, I bought 0.5 pounds of fresh mussels...which allowed me to splurge on with some Spanish saffron :)


I think (hope) I redeemed myself with this rich, hearty and healthy paella dish, great for sharing (hello, tapas party anyone!?) or perhaps a fanciful date night! 

Oh...did I mention that mussels are a natural aphrodisiac? As Borat once said...SEXY TIME!

Farro Paella with Chicken Sausage, Mussels and Shrimp


Kneading Sass original

Ingredients:
  • 1 cup farro
  • 2 cups low sodium chicken broth
  • 2 Roma tomatoes, pureed (or 1 can of diced tomatoes)
  • 1/2 white onion, chopped
  • 3 clove garlic, minced
  • 1/2 sweet pepper, chopped (red, orange or yellow will do, green, however is too bitter for this dish!)
  • 10-12 large raw, deveined and peeled shrimp (I used frozen)
  •  2 links of you favorite chicken sausage (I used Andouille for to add a kick of heat!)
  • 2 Tbl. olive oil
  • 1/2 tsp paprika
  • 1/4 tsp chili powder
  • Pinch of saffron (optional)
  • Salt and pepper to taste
  • Fresh lemon
Directions: 
  1. Cook your chicken sausage over medium heat, until crispy on both sides. My chicken sausage was pre-cooked so I just heat it for 4-6 minutes in some olive oil. Set chicken sausage aside. 
  2. In the same pan cook raw shrimp, 2-3 minutes on each side. Shrimp will continue to cook in paella later, so don't worry about undercooking. You are looking for a bit of pink here. Set aside with chicken sausage. 
  3. In large shallow pan, add remaining olive oil, onions and peppers. Cook for about 6-7 minutes on medium-low heat until soft and translucent. Add garlic and cook for another 2 minutes.
  4. Add in farro. We want to toast the farro before adding any liquids, just like you do with basmati rice or quinoa.
  5. Add pureed tomatoes, saffron, salt, pepper, paprika and chili powder.
  6. Cook for another 2 minutes or so before adding in stock. Slowly add stock and bring pan to a boil. 
  7. Once farro and stock come to a boil, bring the heat down to a simmer for about 15 minutes and cover with the lid.
  8. Halfway through those 15 minutes, add shrimp, sausage and layer the top of the pan with mussels. Place lid back on and allow to continue to cook on simmering heat. HINT! You'l know when mussels will be done when the steam pushes the shells open (super easy indicator, I know!) 
  9. Serve immediately, piping hot and straight from the pan. :)
Note: There might be some liquid after all the cooking is said and done, but this is totally normal! The seafood and sausage will eventually soak it up. I added a squeeze of lemon right before I served it.